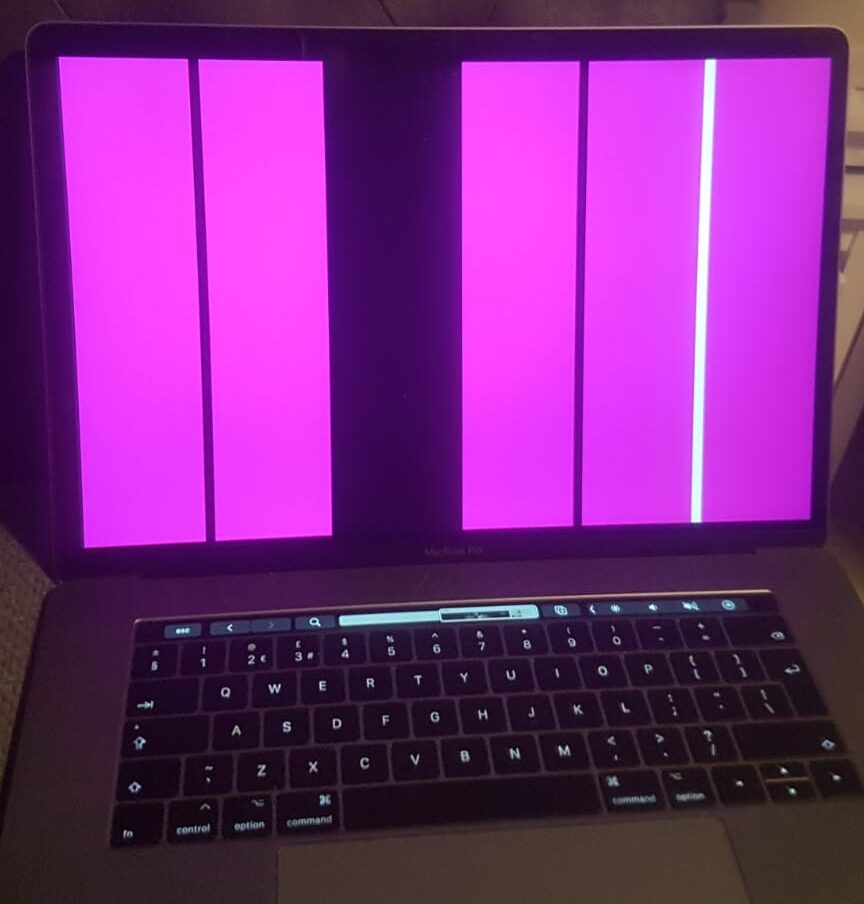
There can be various reasons why your Mac screen has lines on it. Many Mac users can see lines on their devices whether they have a MacBook Pro, Air, Mac Minis or iMacs.
The most common causes of lines on a Mac screen include:
Failed Mac fan Overheating Blocked air vent Screen burn-in Software issues (power management or software conflicts) Loose or damaged screen cable Old graphics card driver Damaged LCD panel (if you have dropped your device)
Firstly, you will need the following before getting started:
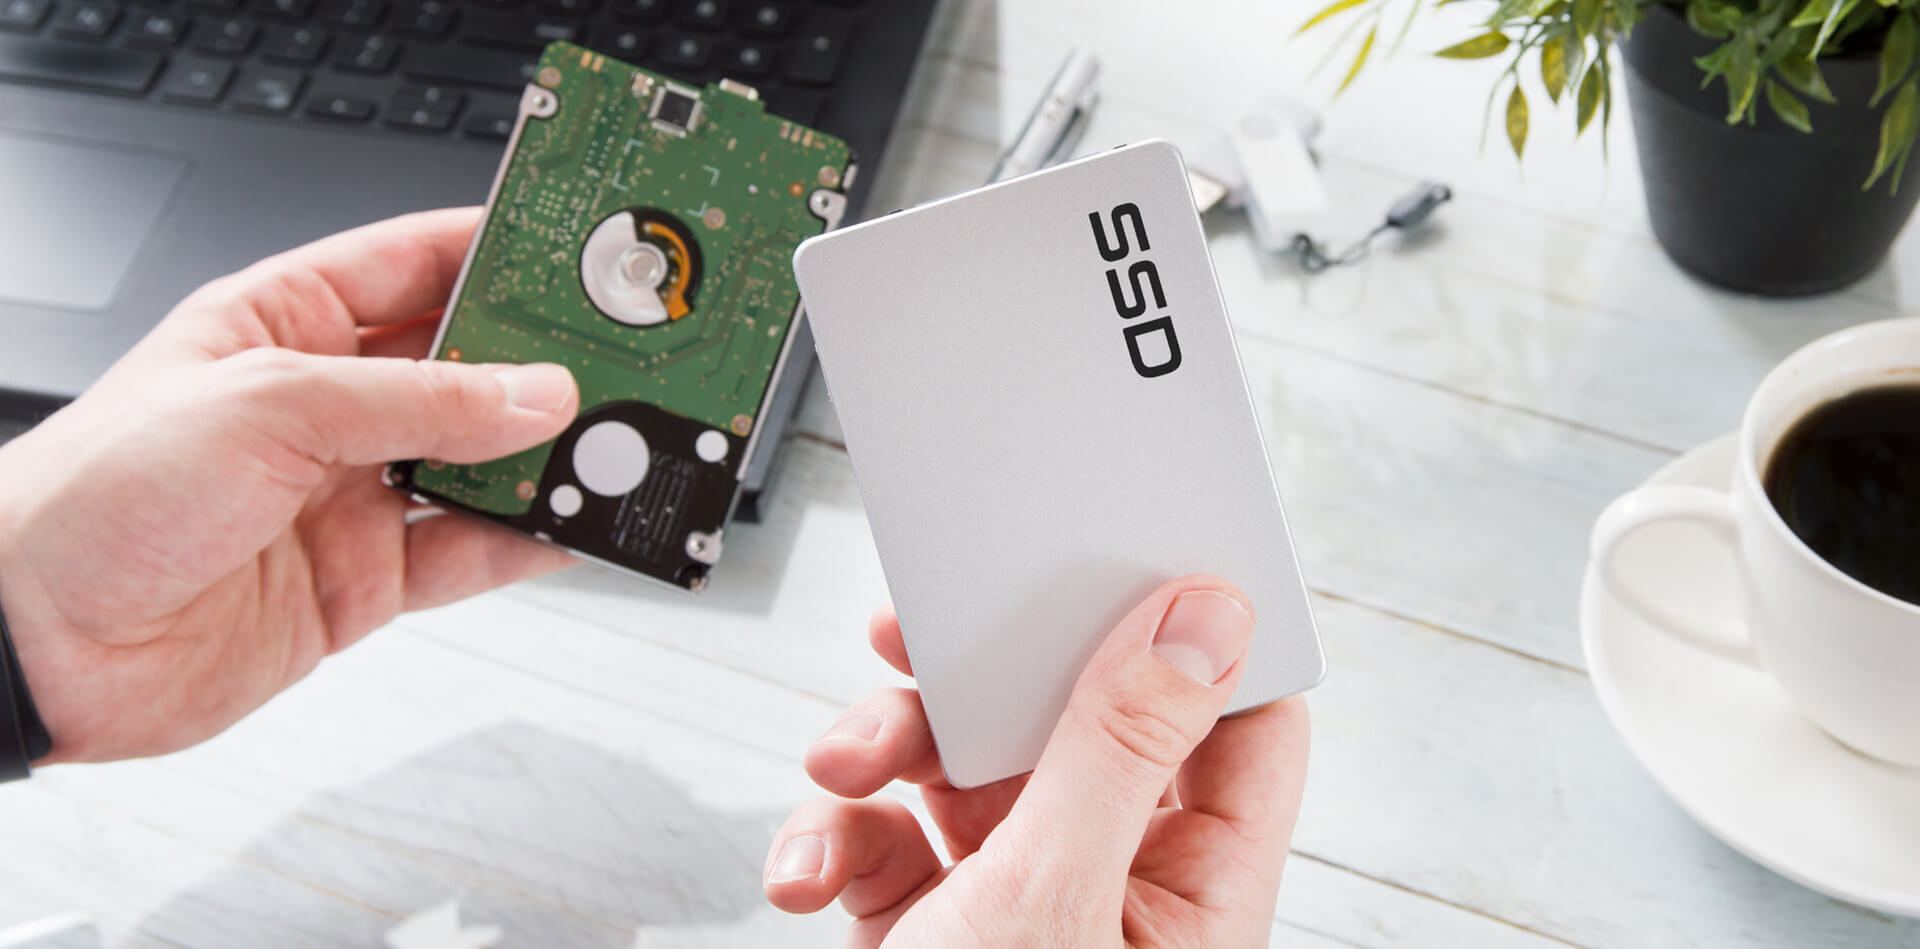
A new SSD A T6 Torx screwdriver or TR8 screwdriver A Philip #00 or #000 screwdriver Extra screws A spudger tool Computer cleaning kit
Here are a number of solutions you can try to fix the lines on your screen:
1. Diagnose whether it is a hardware or software issue
– To do this you will need to connect your MacBook to an external monitor using a HDMI port or USB-C to VGA converter.
– Once connected, select System Preferences, Display then Arrangement
– If you can see lines on the additional monitor this will indicate an issue with the internal hardware e.g. motherboard or graphics card issues.
– If the external monitor is not displaying any lines, then the issue is likely with your MacBook screen, which may need to be replaced.
2. Reset the SMC (System Management Controller)
– Turn your device off
– Hold Ctrl, Alt + Shift for about 10 seconds
– Release and then hold the power button
– Then hold Ctrl, Alt + Shift again for 10 more seconds
– Release the keys and wait 30 seconds
– Turn your MacBook back on
3. Reset NVRAM (Non-volatile random-access memory)
Once you have reset the SMC you will want to follow this up with resetting the NVRAM.
– Restart your Mac
– Hold down Command, Option, R + P
– Once you hear the start-up sound twice, you can release the keys
– If your Mac has a T2 chip, you will need to wait until the Apple logo appears and disappears for a second time
4. Take a screenshot – To work out whether the lines are due to a display issue or GPU issue, take a screenshot. If the lines show up on the screenshot then it is likely to be a GPU issue, if not it is more likely to be a display issue.
5. Use an additional cooling system – If it was overheating that caused the lines on your screen you may want to use additional cooling. You could try to use a cooling pad or fan control software to increase the airflow and keep your system cool.
6. Check the connection (if you have an external monitor) – Ensure that the cable is not faulty and is connected securely.
7. If you are using an external monitor, try using a different one – You can test using a different monitor to see if you still have lines or alternatively try using a different port to see if that makes a difference.
8. Run maintenance scripts – These are usually run automatically on a Mac, however sometimes they may not be running as often as they should be. Performing this manually could fix the lines on your screen if they are being caused by a software problem.
9. Run Apple diagnostics – This will help to resolve hardware issues with your Mac device.
– Turn your Mac off and disconnect all external parts including your keyboard, mouse and ethernet connection.
– Initiate Apple diagnosis by pressing the power button and holding the D key until your screen shows a progress bar or asks you to choose a language.
– For an M1 Mac: turn the Mac on and hold down the power button until you see Startup Options, then hold Command + D.
10. Update Graphics Card Driver – If your MacBook has lines due to a software issue, you may have an outdated graphics card driver. A graphics card provides high-quality visual display for your device, so issues with this can easily cause problems for your display.
Updating your graphics card driver will require a different process depending on what version of Windows you are operating. This article from Avast has advice on how to update your graphics drivers in Windows 7, 8 and 10.
11. Replace thermal paste – Thermal paste allows for the efficient transfer of heat from the IHS of the processor to the base plate of the CPU cooler which can dissipate the heat.
This will require more experience so it is best to ask a professional or watch a tutorial if you are feeling confident to do it yourself,
12. Lower the resolution – This may be relevant if you have a Mac mini. Lower the native resolution to 1080p and switch it back to see if this resolves the issue.
13. Enable colour filters – This could be the solution for you if you are experiencing flickering lines on your Mac device.
– Go to System Preferences
– Then Accessibility and Displays
– Under the tab ‘Colour Filters’ tick the box to enable colour filters
If you have tried the solutions above and are still struggling with lines on your Mac screen, it may be wise to have it properly diagnosed in an Apple store or take it to a professional computer repair shop.
If you have worked through the checklist and still cannot fix your MacBook, it is time to consult an expert. Absolute Circuits offers a professional and affordable repair service and is ready to help you get your MacBook up and running.