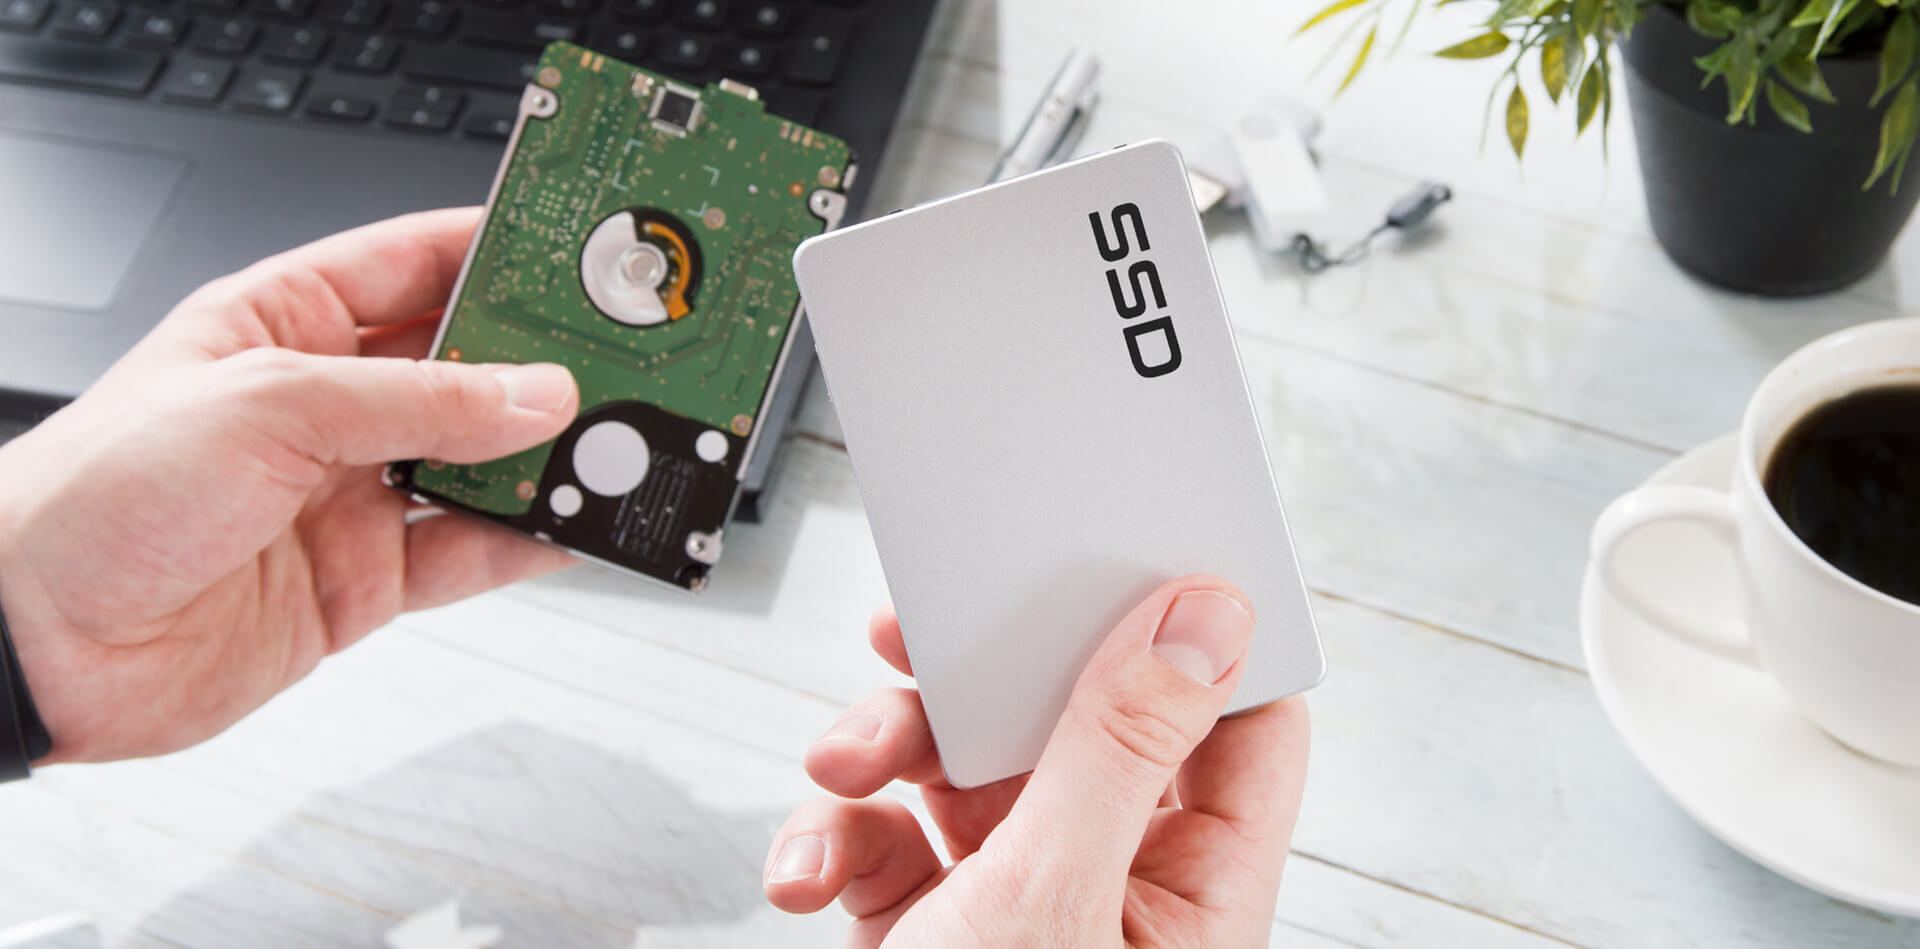
Changing the HDD on your MacBook is practically impossible on newer models (2016 and newer). However, you can still upgrade your SSD via a high-speed external port. The SSD is a faster and longer lasting choice over a traditional hard disk drives.
What is an SSD? An SSD (Solid State Drive) is a newer version of a HDD (Hard Disk Drive). SSDs use flash-based memory which is much faster than the HDD. Flash-based memory runs much faster and quieter than HDDs and are usually used for: Business – For the faster access and transfer speeds of large amounts of data. Gaming – To enhance performance, boost speed and reliability. Laptops – As SSDs have low energy impact and high durability, enhancing battery life. This article will look at various Mac models and teach you how to change the SSD on your Mac device.
Firstly, you will need the following before getting started: A new SSD A T6 Torx screwdriver or TR8 screwdriver A Philip #00 or #000 screwdriver Extra screws A spudger tool Computer cleaning kit
MacBook Air
Despite variations between models, the basics are the same & so these steps should be applicable to your MacBook Air device.
1. Back up your data – One of the best ways to do this would be to clone your existing hard drive using the Disk Utility app & following the steps to restore or back up your hard drive. This is the most important step to ensure you don’t lose any important documents.
2. Remove the hard drive – A MacBook Air made before 2010 will have a HDD. Any models after this should already have a SSD, however you may still want to replace this if you require more storage.
Apple products often make it quite hard to replace internal components, even with a compatible SSD you still may require an adapter.
To remove the existing hard drive:
– Unplug your MacBook Air from any power source
– Unscrew the bottom panel (there should be about 8 screws to remove and it is worth keeping track of where each screw came from) with the Philips #00 screwdriver
– Lift the panel off
– Use your cleaning kit to clean the inside of the laptop
– Remove the battery if it is covering the hard drive
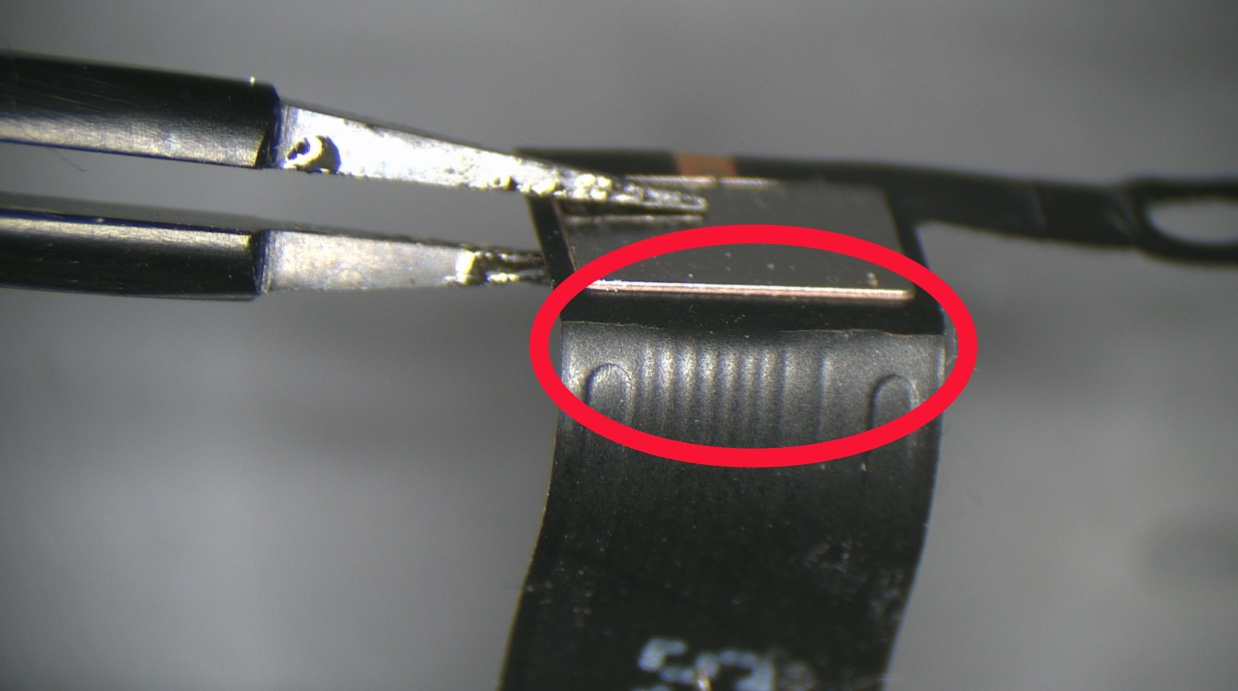
– Disconnect cables from the hard drive (this is where the spudger tool may come in handy)
– Remove all screws holding the hard drive in place & take the hard drive out
– Remove the bracket, shock absorber and connector to transfer on to the SSD
3. Install the new SSD drive – this will require the same tools. Again, it is important to check the MacBook Air model number to ensure you get a compatible SSD.
The connectors on the drive are 2 different widths, ensuring you can’t put it in upside down.
4. Once the new SSD is firmly in place replace the screws and reconnect the battery.
5. Put the back cover of your MacBook Air back into place and screw it in.
6. Reboot your MacBook Air (Cmd + R). Check that everything looks normal.
MacBook Pro
You will only be able to upgrade your MacBook Pro if your device is older than 2017. Devices designed after this time will not allow this type of upgrade.
1. Back up your data – One of the best ways to do this would be to clone your existing hard drive using the Disk Utility app & following the steps to restore or back up your hard drive. This is the most important step to ensure you don’t lose any important documents.
2. Remove your existing hard drive – It is worth noting that installing a new SSD may void your warranty, so it may be wise to ask a professional to do it for you.
– Unplug your MacBook Pro from any power source
– Remove the screws on the back panel using your Philips #000 screwdriver
– Lift the panel off
– Use your cleaning kit to clean the inside of the laptop
– Disconnect the battery connector from the logic board using your spudger tool
– Remove the screws holding the hard drive in place
– Remove the black bar which holds the hard drive in its place
– Lift it out of place
3. Install the new SSD in your MacBook Pro – Ensure you have chosen a compatible SSD which suits your budget speed and capacity needs.
Once resecured you should assemble your laptop back together and turn it back on. If the start-up chime sounds normal this will indicate that the SSD has been changed successfully.
iMac
Again, the first most important step is to clone your iMac hard drive – Ensure you save all your important data using an external hard drive.
1. Remove the hard drive – To remove the hard drive in your iMac you may need some suction cups and a service wedge to ensure you can remove all the parts without damage.
– To upgrade your iMac to a SSD, models before 2012 should be fairly simple. However, an external SSD will be more suitable for models after 2012.
– Unscrew the RAM (Random-Access Memory) access door
– Remove the front glass using the suction cups and set aside on a suitable surface
– Remove the screws using your TR8 screwdriver
– Disconnect the microphone cable and put the bezel to the side
– Disconnect cables and remove screws
– Prop up the screen to remove the cables connecting it to the logic board
– Disconnect thermal sensor using your spudger pulling out the connector
– Remove the hard drive (this may be stuck in and so you may have to pull this quite hard)
– Use the spudger to disconnect the other cables, again using the spudger
– Remove all parts from the old HDD and put these aside
2. Install the new SSD – putting the parts onto the new SSD you should be able to snap the SSD back into place. Plug the data, SATA and power connectors. Screw the screen and bezel back in and replace the glass.
After this you may want to give your iMac a good clean to remove any dust or fingerprints. Once you have replaced the SSD you can install the operating system (OS) and restore your data back.
Upgrading your Mac with a new hard drive can increase your device’s performance especially when being used for resource-intense software. It is definitely worth getting some professional advice when it comes to upgrading your hard drive to ensure you get the right storage solution for you.
If you have worked through the checklist and still cannot start your MacBook, it is time to consult an expert. Absolute Circuits offers a professional and affordable repair service and is ready to help you get your MacBook up and running.